Friday
Feb132015

THE PERFECT POUT

Get the perfect pout for Valentine's Day with my current favorite lip products listed below:

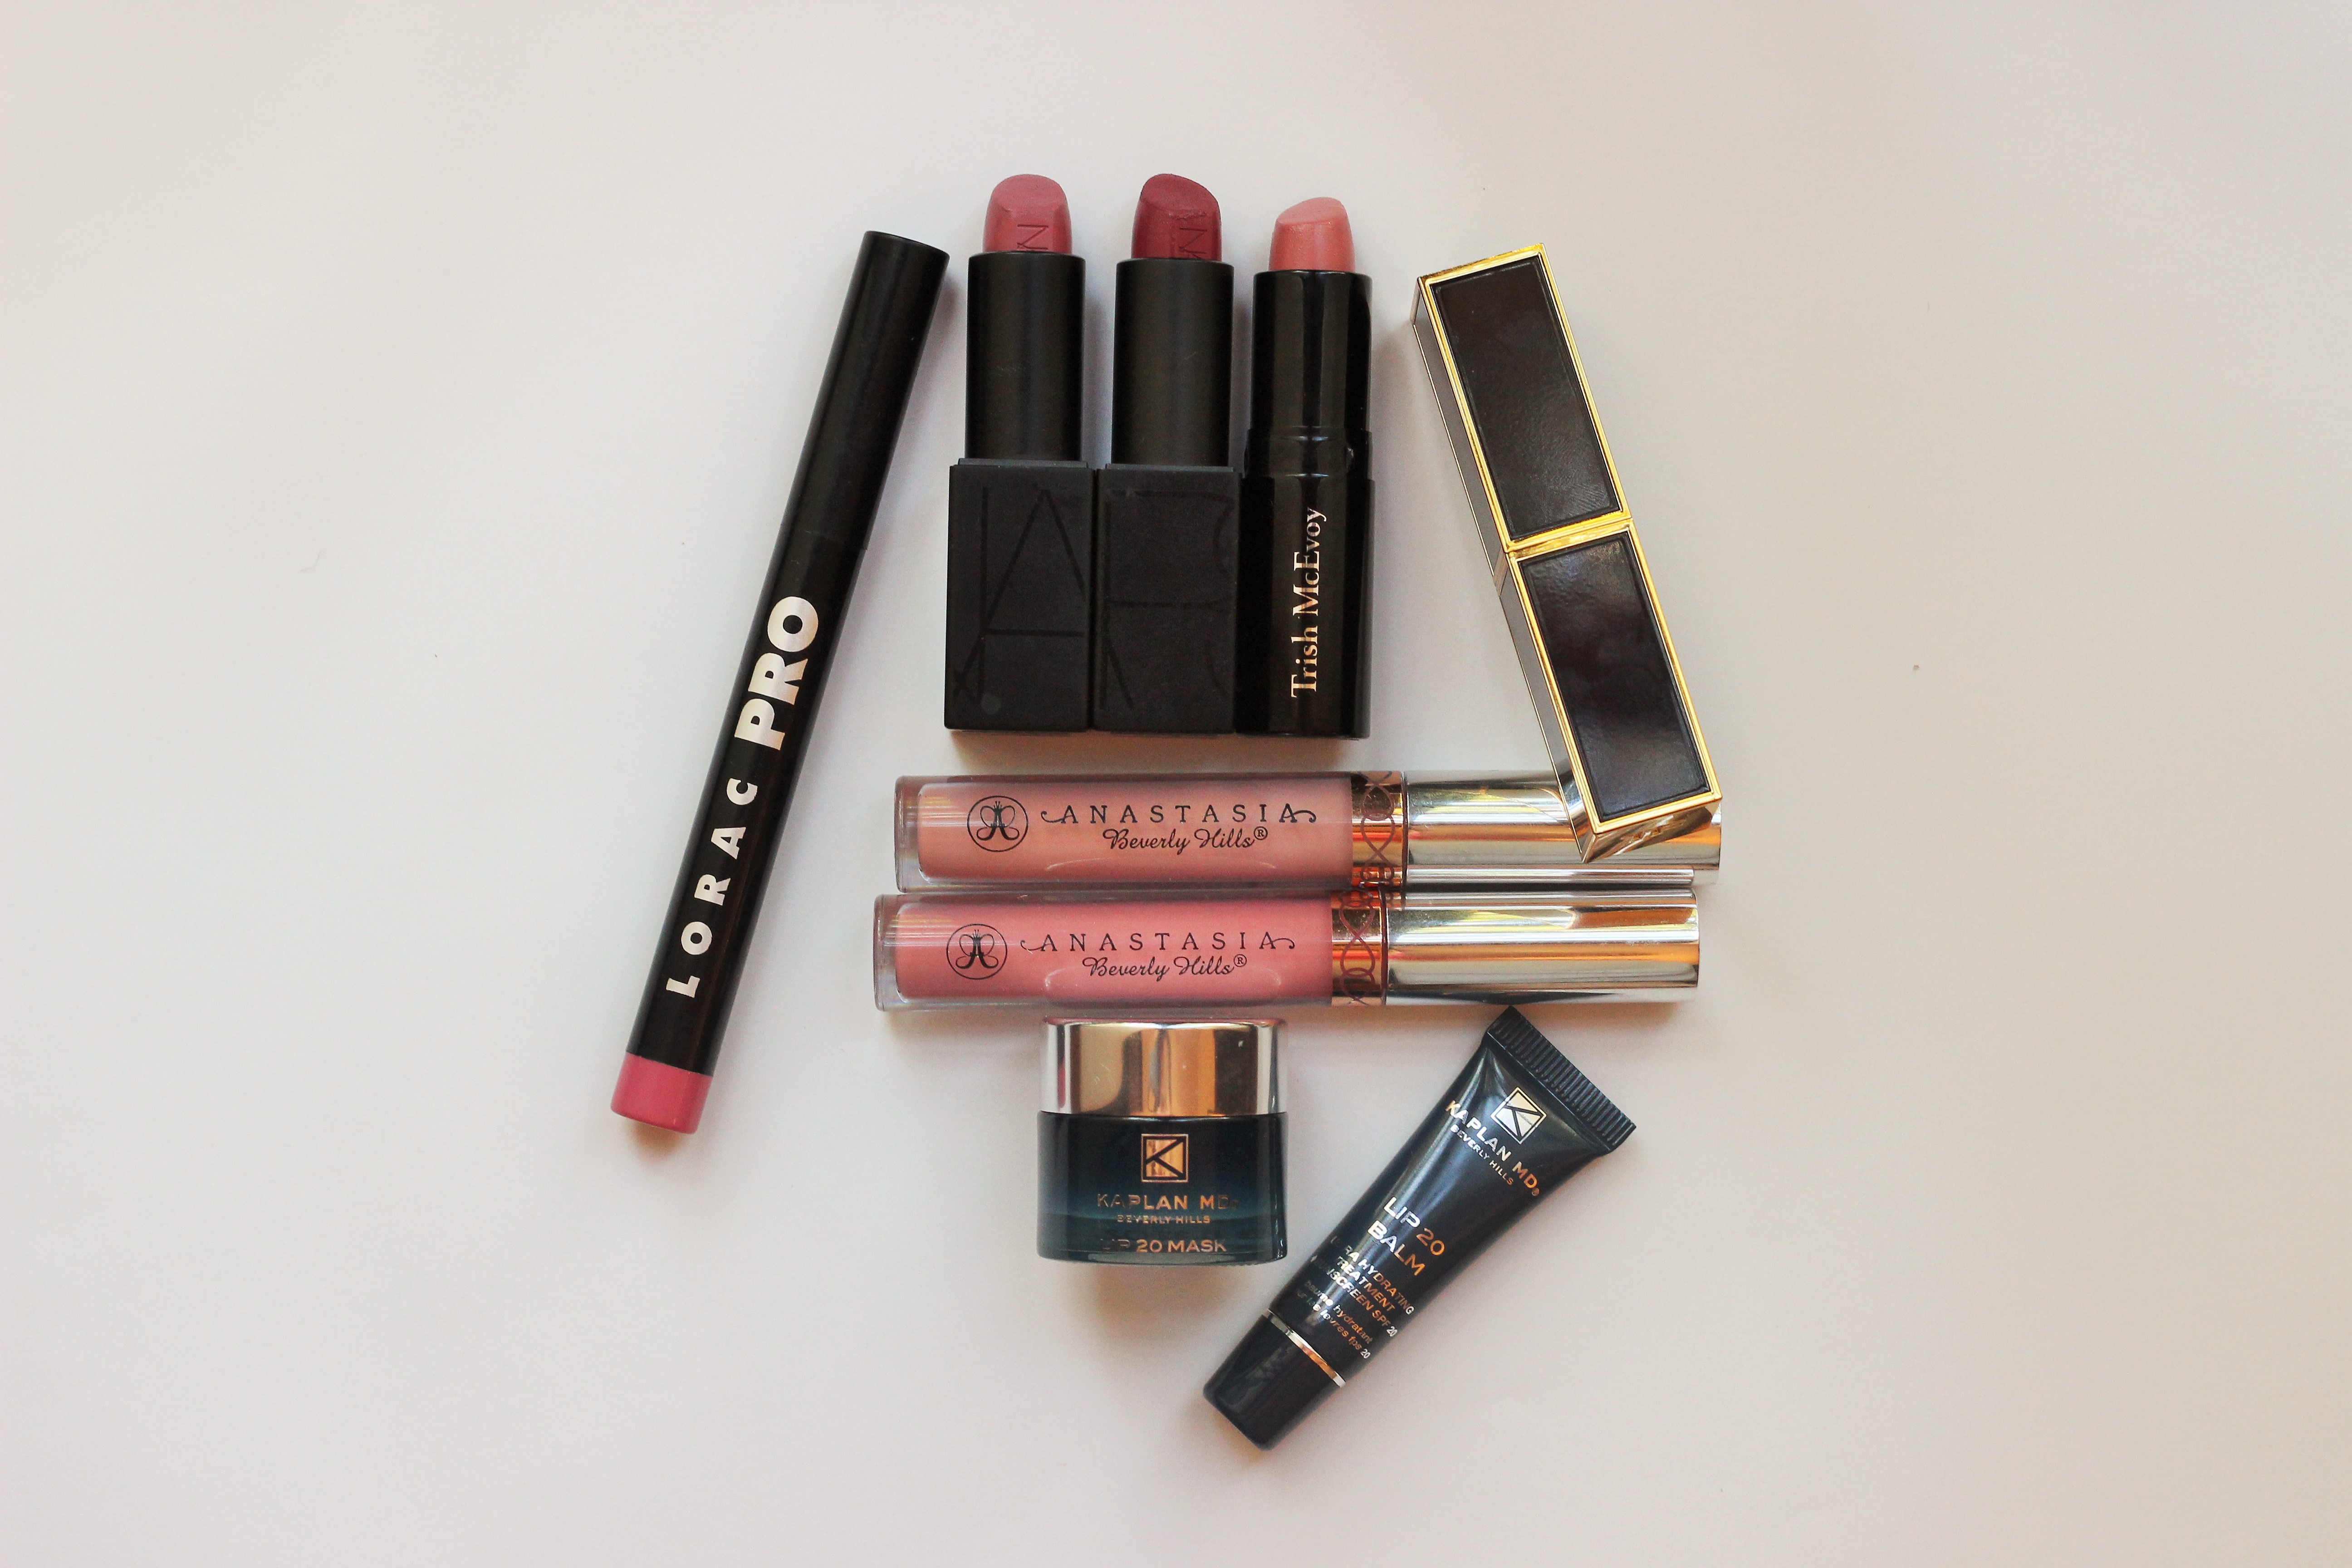
Kaplan MD Lip Mask and Balm: An antiaging lip treatment duo that naturally plumps and hydrates while also protecting against sun damage with SPF 20. Make sure to use this before applying any long lasting lipcolor (like the Anastasia products I will mention) as they can be drying.

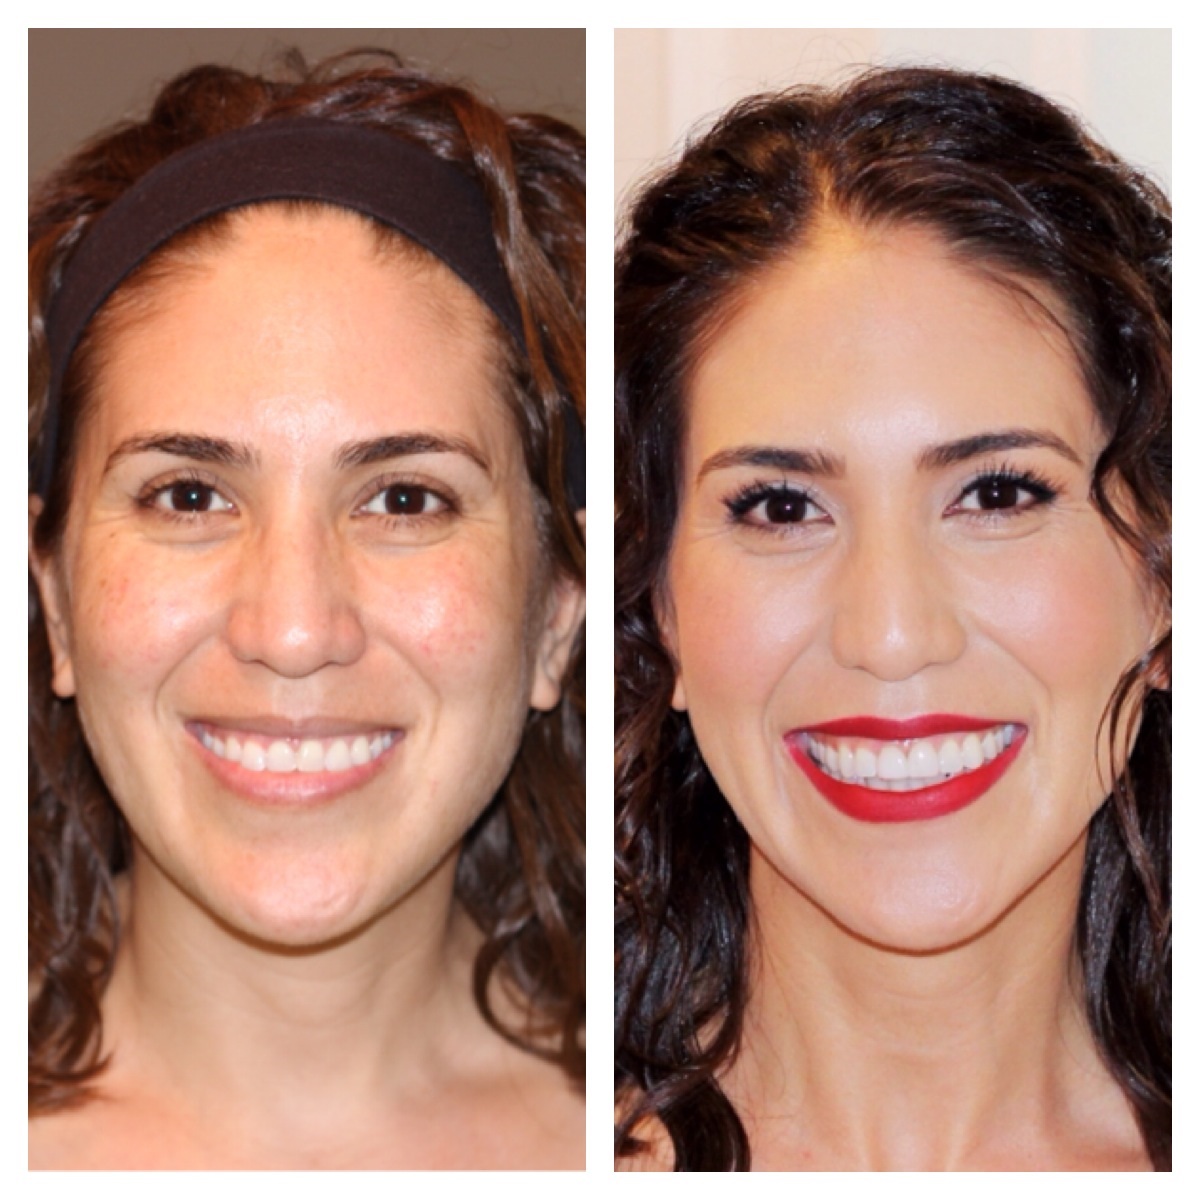
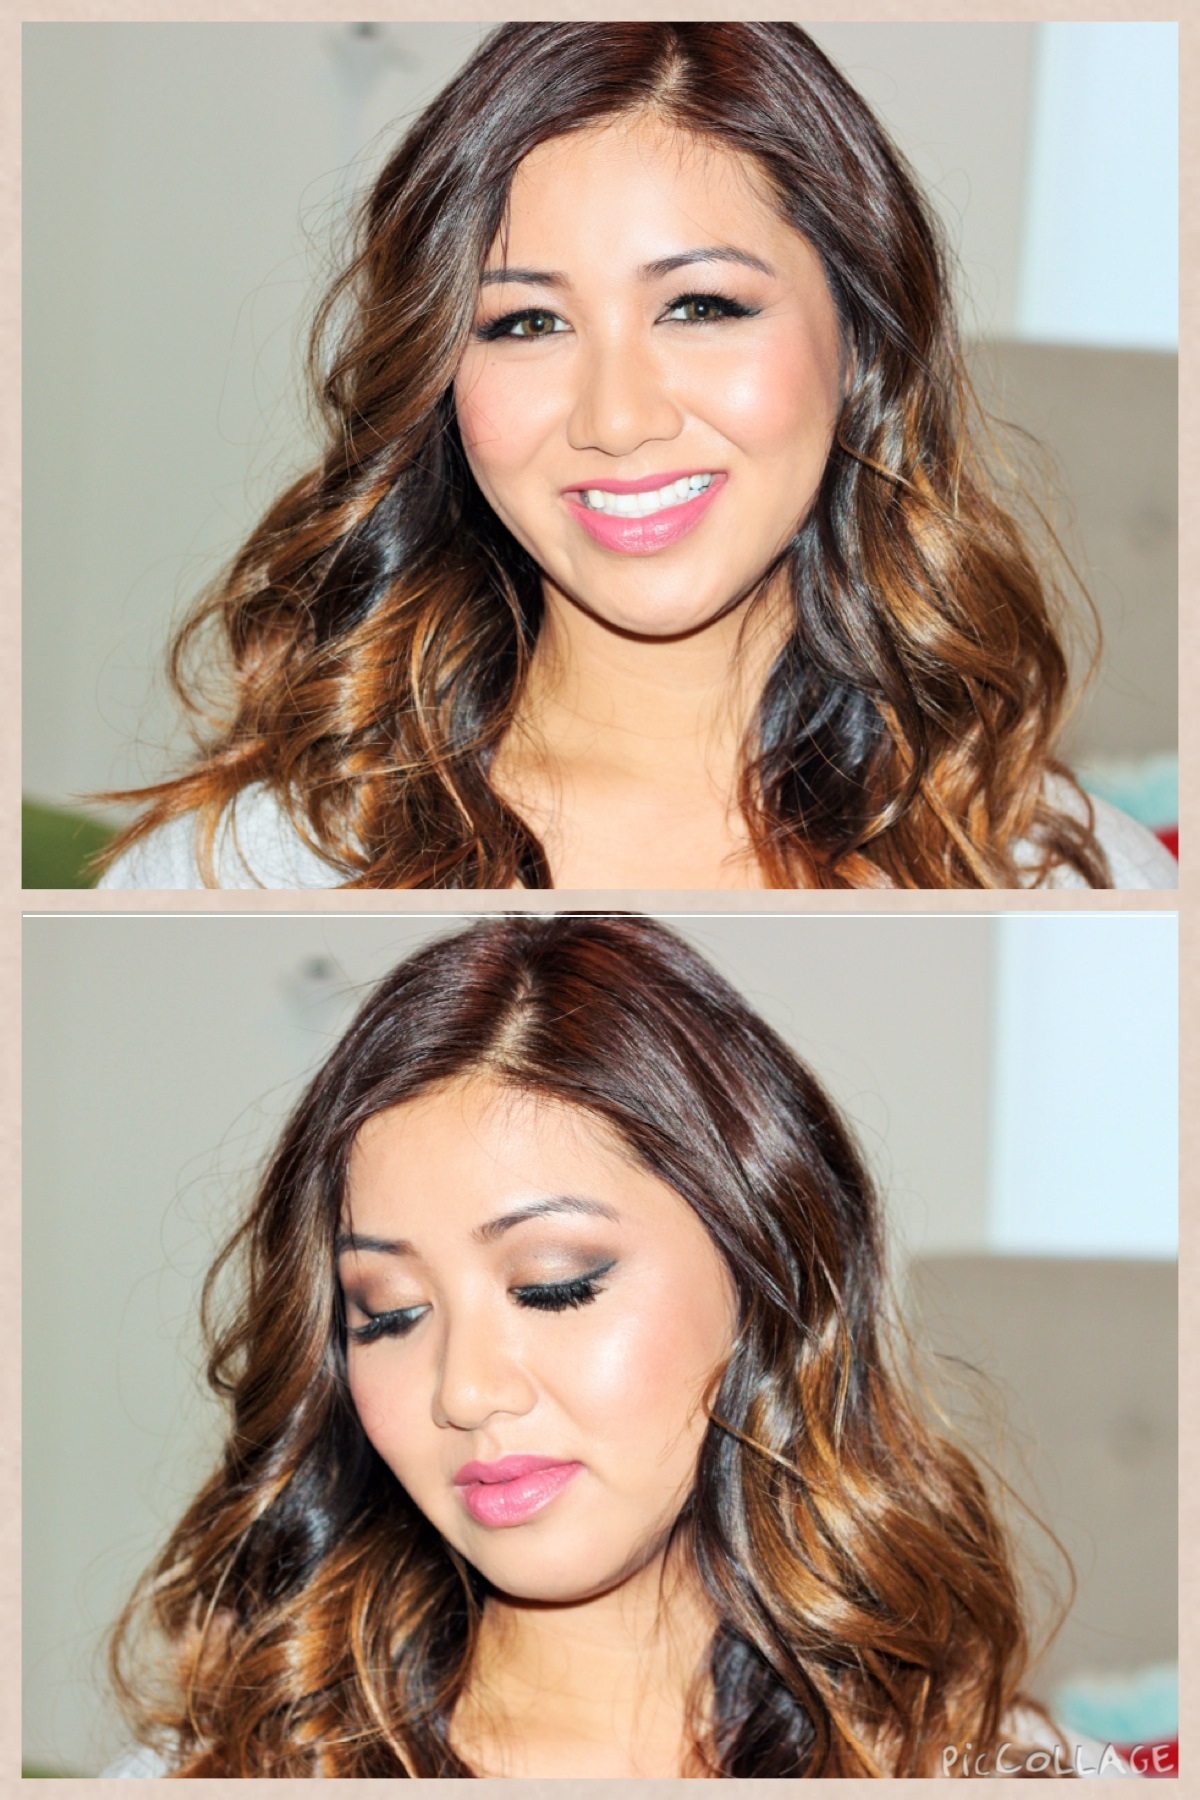
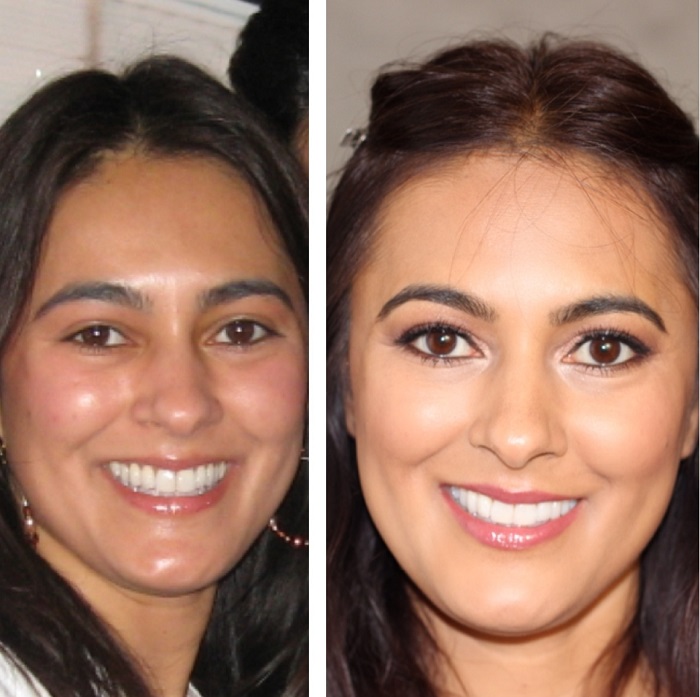
After prepping the lips follow with one of my favorite pinks, mauves or plums listed below!

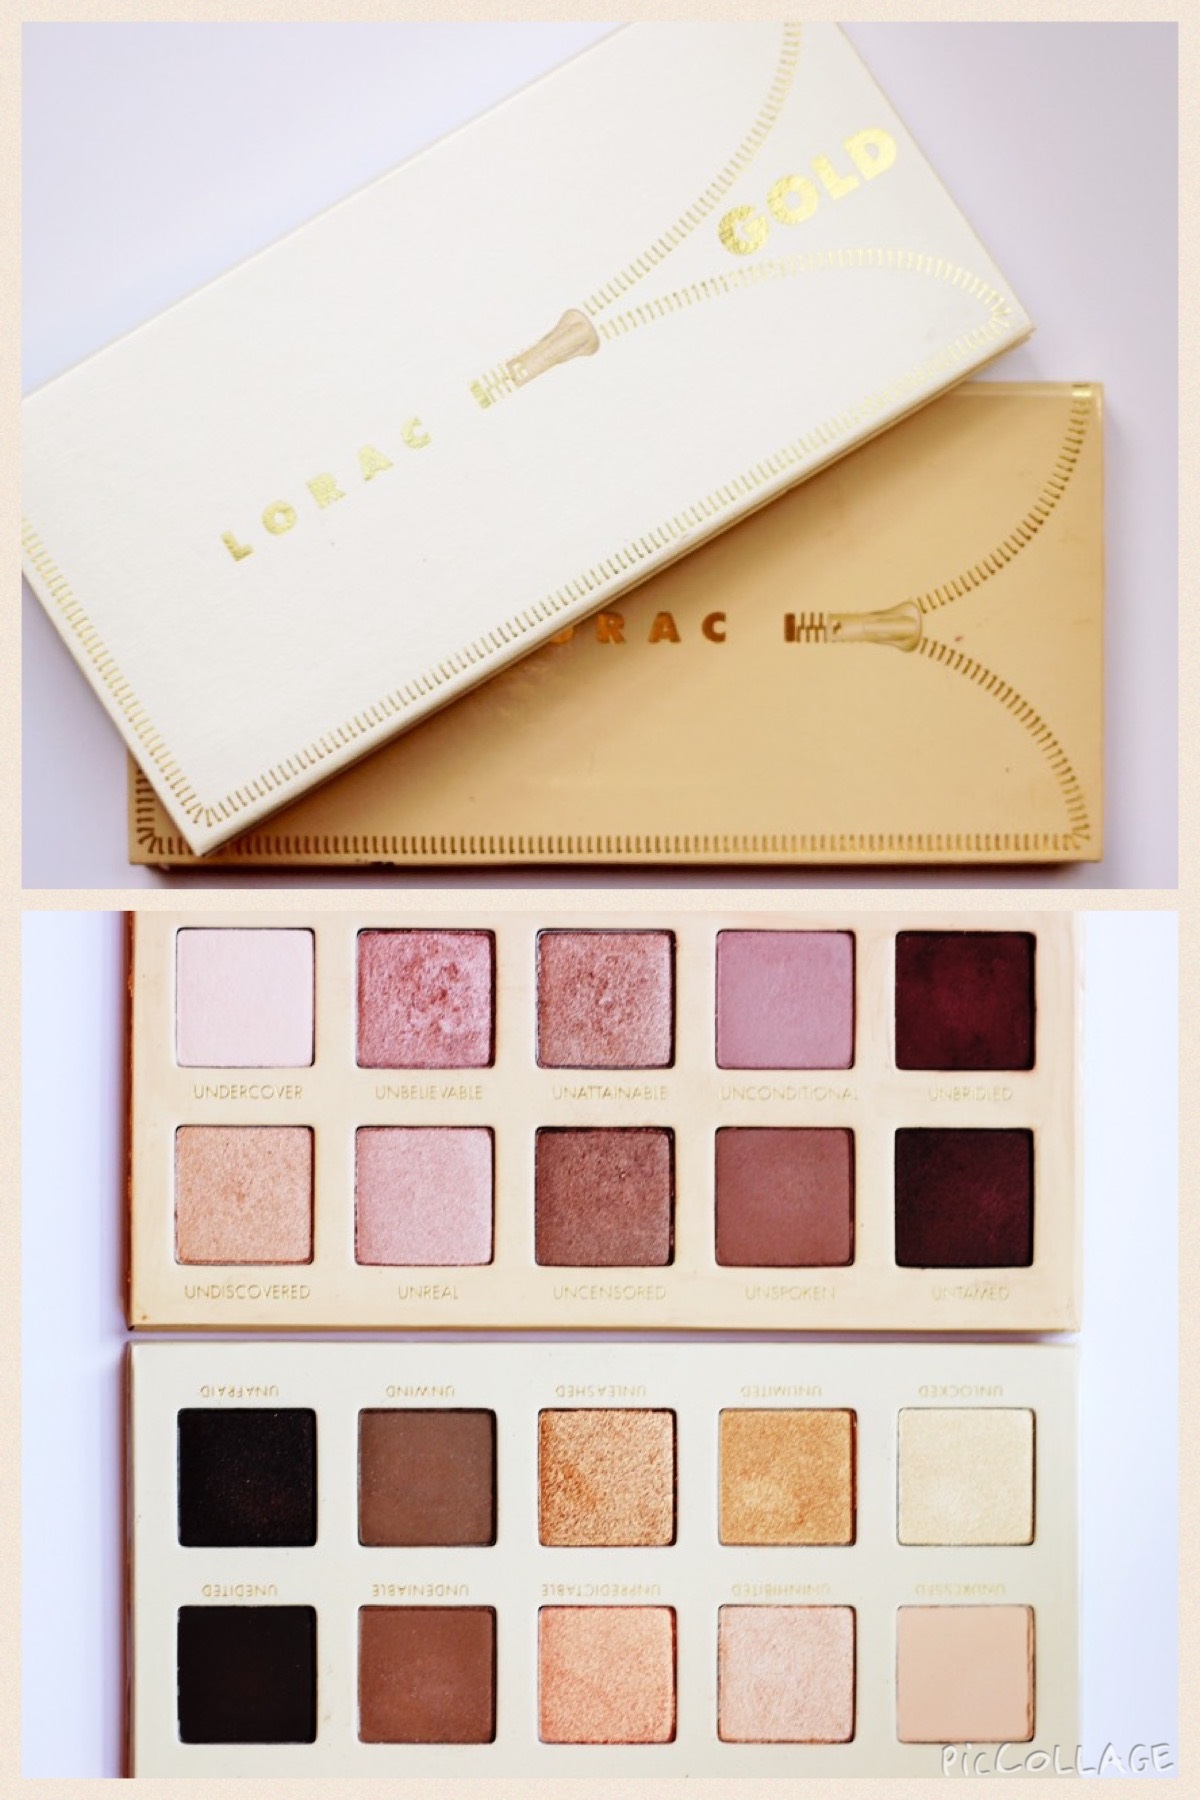
Lorac Pro Lipcolor in Mauve - It's a lipliner and lipstick in one and has great staying power. This is my favorite color in the collection and flattering on so many skintones.

Anastasia Beverly Hills Liquid Lipcolor in Lovely and Pure Hollywood - Lovely is a pretty pink color, but on my fair skin I like to tone it down with a bit of the nude Pure Hollywood mixed in. These will last all day long and can be a bit drying so make sure you prep your lips first!

Tom Ford Lipshine in Quiver - A lipgloss and lipstick in one. Quiver is a beautiful, easy to wear color for every day or at night with a smokey eye.

Nars Audacious Lipstick in Anna and Vivien - I have blogged about my love for this beautiful lipstick formula before. The colors are so rich, creamy and pigmented. My two favorites at the moment for plummy mauves are Anna and Vivien. I've heard that Anna is so popular it's hard to keep it in stock!

Trish McEvoy Lipstick in Pink Nude - Just like the color says, a perfect nude pink.


Tuesday
Jan272015

FOOLPROOF EYES

I have been using Lorac's Unzipped Eye Palette ever since it came out and now they have launched their "Gold" Edition. The palettes are compact, lightweight and come with 10 ultra-rich eye shadows. The shadows have nice color payoff and a good combination of shimmering and matte colors.

Both palettes are universally flattering but I would recommend the original for light to medium skin tones and the gold palette can work for light skin all the way through dark. Lorac describes the original palette as nude but I would also add that it contains lots of pinks and plums. It looks great on my green eyed clients. You can wear both palletes day into night, focusing on the mattes and lighter shimmers for day and the brighter/deeper shimmers and darker mattes for night. Use the dark mattes shades as liner for day or night. And as a bonus it comes with an eye primer. It's a great value at $42 and with a pro discount it's a steal. Although Naimie's always seems to be out of stock!


Friday
Jan162015

NEW YEAR DETOX FOR THE SKIN PART II - MAKEUP

Since I started this "new year skin detox" my skin has been looking and feeling so much better. Check out my current favorite all natural makeup products below.

RMS “Un” Cover-up – I absolutely love this as a foundation/concealer. It does a good job covering discolorations and imperfections and leaves the skin looking and feeling moisturized and glowing. It is obviously not as full coverage as the department store and professional brand foundations that contain chemicals, but it comes pretty close (especially if you set it with powder. I’m still looking for a good all natural setting powder.) And my favorite thing about this product is that it comes in a shade that matches me perfectly. I am very fair with yellow undertones and it’s difficult to find a product that is a true match.(00 is my shade)

RMS Living Luminizer- This is such a beautiful highlighter and adds so much healthy life to the face. Smudge it into the inner corners of the eye, under the brows and across the high points of the cheekbones. The entire RMS line is based on raw coconut oil so you can feel good about all of the products.

Saturday
Jan102015

CURRENT DRUGSTORE FAVORITES

Loreal Voluminous Mascara- my tried and true mascara! It doesn't flake and adds tons of volume to my lashes.


Maybelline Dream Bounce Blush in Fresh Pink - great neutral pink that adds a soft flush and glow to the face. The texture is gel/mousse like but finishes like a powder and can be applied with a brush or fingers. The color builds very nicely and is great for an every day look.

NYX Wonder Pencil - concealer, eye brightener and reverse lip liner in one. (See my How to Wear a Bold Lip blog post)

Wednesday
Jan072015

NEW YEAR DETOX FOR THE SKIN

Instead of starting off the new year with a juice cleanse I’ve decided to detox my skin through clean makeup and skincare products. I am slowly eliminating anything with harsh chemicals and ingredients that I can’t pronounce from my every day makeup routine. Being a makeup artist and cosmetic junkie I will never be able to let go of my professional products (as they really work best) but for my every day makeup I think it’s worth a try.

Here are a few of my favorite natural skin care products:

Simply Divine Botanicals Black Velvet Fabulous Foaming Facial Cleanser – With ingredients like Organic Whole-leaf Aloe Vera, Oils of: Jojoba, Avocado, Coconut, Sea Buckthorn, a ton of essential oils and unconditional love and gratitude, how can you go wrong! It deeply cleanses the face while leaving it feeling velvety smooth…hence the name.

Simply Divine Botanicals Crème de Rose Heavenly Moisturizer – I love this all natural cream especially in the winter months. It is so rich and creamy but doesn’t clog the pores.

New Radiance Naturals Vitamin C Serum -  98% organic and 72% natural with 20% Vitamin C. And the best part is the price - $19.95 on Amazon! (When looking for a Vitamin C serum make sure that it is 20%)

Juice Beauty SPF 30 Tinted Mineral Moisturizer – This moisturizer blends zinc broad spectrum SPF 30, mineral coverage and antioxidant rich juices. While my all-time favorite tinted moisturizer is Laura Mercier’s Illuminating, it contains many chemicals. I like that this moisturizer has a few shades to choose from, is mineral based and has a nice even texture on the skin.

Look for my all natural makeup post coming soon!

Wednesday
Dec312014

HOW TO WEAR A BOLD LIP – MY 3 TOP TIPS

The key to a bold/red lip is not only finding the right shade, but also keeping the lip line clean and even.

TIP #1 – Choose your lip color with a bare face. The right color will add the perfect amount of life and brightness to your face. You really shouldn’t need much else to go with it. Try a few until you find the one you like best.

There really are no rules when looking for a bold color, but I’ve listed a few helpful hints when looking for a red:

Fair skin – something with a blue undertone like Nars Velvet Matte Lip Pencil in Dragon Girl. Or add some bright berry hues to any red with Nars Audacious Lipstick in Vivien.

Medium - You can play around with undertones and go for a true red like Mac’s Russian Red Lipstick.

Dark – You might want to try something with orange undertones to warm up your complexion. Heat Wave by Nars is a classic.

TIP #2 – Line the entire lip first to create a stain for long lasting color. Many cosmetic lines like TARTE, NARSCLINIQUE and REVLON make chubby lipstick pencils that are great for a quick and easy bold lip.

TIP #3 – After you are done applying your lip color use a small concealer brush with a bit of concealer to correct any mistakes. Simply drag the brush around the desired lip line to clean up the edges. In a rush and on the go – try  NYX WonderPencil.

Friday
Dec192014

GLOW FROM WITHIN

Many of my clients request that “glow from within” look. My biggest tip for achieving this is using a cream blush as a cheek base.  I have been loving the Makeup Forever HD Second Skin Cream Blushes as well as the Tarte Cheek Stains.  After your foundation, concealer or tinted moisturizer layer on the cream blush and finish with a translucent powder like Laura Mercier’s Translucent Setting Powder before finishing off with your favorite powder blush. Or leave the cream blush as is for a quick, easy and naturally flushed look.

The biggest complaint about cream blush is that once applied with the fingers it seems to wipe away any foundation or concealer that was previously placed on the skin. My foolproof tip for cream blush application lies in one beautiful brush- Makeup Forever 148. This brush perfectly and evenly distributes just the right amount of color. Gently tap and swirl at the apple of your cheek and blend slightly upward and outward. Give it a try and you’ll be glowing in no time!


Get this look:

Eyes- Tarte’s Bon Voyage Eyeshadow Palette

Cheeks – Tarte’s cheek stain in Muse, Makeup Forever HD Cream Blush in 210 topped with Lorac blush in Vevet Rope

Lips – Nars Velvet Matte Lip Pencil in Never Say Never topped with Tom Ford’s Lip Color Shine in Quiver

Hair –Enzo Milano Curling Wand, Bumble and Bumble Thickening Dryspun Finish, HG Saharan Liquid Gold Argan Oil , Moroccan Oil Finishing Spray

Wednesday
Dec172014

MUST HAVE - MATTE NEUTRALS

One of my favorite matte neutral eyeshadow palettes is the Viseart 01 Palette. Viseart is a Paris based company with beautiful products for both makeup artist professionals and consumers. I purchased mine at Naimies but I have also seen it sold at Sephora online. The shadows are very creamy, pigmented and easy to blend. Matte neutrals are often overlooked because they aren't as exciting as shimmer and colored eyehadows. Whether you are a makeup artist or someone who just loves makeup, a good matte neutral eye palette should be a staple in your makeup bag or kit.

Artist tip: Always use matte shadows to define and sculpt your eye crease. Try using a bit of a brighter, warm shade (like the second row second from the left or try Mac's Brown Script) to the top center/outer third of the crease and bend well. Use a small amount to begin and build as you go. No matter what color eyeshadows you choose for your overall look this really helps to tie it together and creates an instant brightening and lift to the eyes.


Tuesday
Dec092014

HOW TO STEP UP YOUR MAKEUP ROUTINE

A recent client of mine wanted a natural look for a party she was throwing. She asked for her eyes to "pop" without looking overdone and her skin to look flawless and glowing.

The before photo was taken with her own makeup and the after photo was taken with my camera (no retouching) after our session. Below are my 2 biggest tips for stepping up your makeup routine to create a more polished look without looking overly made up.

1. For the eyes- Line your upper water line. Get your liner, whether it be gel, liquid or pencil, right between those upper lashes. This helps to fill in those gaps and leaves you without any eyelid skin showing through. In effect, this creates a thicker and fuller lash line. This technique is called tightlining. I find it most easily acheived using Laura mercier's tightline cake liner and her flat synthetic brush. Wet the product slightly until you achieve a thick and dark consistency and wiggle the brush in between the lashes. This takes some practice, but it's worth it!

2. Flawless skin- it's all about layers! When you use thin layers you don't have to pack on a ton of product all at once to cover imperfections. Try starting off with a concealer to cover any discoloration and blemishes. You can mix a bit of the concealer (if it seems too thick) with your moisturizer or primer. You'll be surprised at how much less foundation you will end up needing and using. For a more natural, airbrushed look, layer your favorite foundation with a natural hair brush instead of the typical synthetic. This will keep you from depositing too much product and help you focus on blending. Only apply the foundation where you need it instead of slathering it on your entire face and creating a makeup mask. Your skin will thank you!

Tuesday
Nov112014

SKIN THAT GLOWS...AND HOW TO FAKE IT!

I recently worked with a beautiful new mom before her family photo shoot. When you don't have time to eat a clean diet, drink lots of water, and get plenty of sleep you sometimes have to fake it with makeup!

After prepping the skin I mixed a bit of tinted moisturizer - Laura Mercier Tinted Illuminating Moisturizer with a silicone based foundation. To add a bit more glow and highlight to the skin I dabbed Revlon PhotoReady Skinlights in 100 Bare Light to the tops of the cheekbones. After lightly setting with a translucent powder I dusted one of my favorite bronzers- Armani Sun Fabric in 100 to the perimeter of the face and the cheekbones, focusing on the base of the cheekbone to create a bit of a contour.

The best part about this makeup application was that her sweet little baby girl slept in her arms the entire time!


Wednesday
Oct222014

BEST MULTI-TASKER BRUSH

 One of the most asked questions from my clients and friends is what is the best brush for bronzer, contour and blush and can I use the same brush for all? The answer is finally, YES! The new Nars Mizubake Kabuki Brush makes it all easy to apply and creates a beautiful, seamless finish. The brush is made from black goat hair with a hand-spun black wisteria handle. It has a flat top that flares out from the base and is the perfect size for everything mentioned below - not too big but small enough to create more precise definition and blending.


What this brush can do:

  1. Set makeup with finishing powder
  2. Bronze
  3. Contour
  4. Blush
  5. Blend
  6. Highlight

How to use:

For contour and bronzer, I like to use a patting/tapping/stippling motion at the base of the cheekbone for the initial deposit of color and then blend up and out from there. For blush, focus on the apples of the cheek (don’t deposit color within two fingers width of the nose) Before highlighting, simply swirl the brush onto your hand or a paper towel/tissue to get rid of any excess blush, bronzer or contour. And finally blend, blend, blend! The brush is $55 but totally worth it if you are using it for multiple purposes. And for my fellow artists, with the pro discount it’s only $33.


Monday
Oct202014

THE PERFECT NUDE

I'm loving the Nars Audacious Lipstick line - so rich, creamy and pigmented. I used Raquel in this photo and it's the perfect nude for light to medium skin tones.

*Extra tip - Try lining your lips and filling them in first with Makeup Forever Aqua Lipliner in 2C to give them some extra volume and depth.  Finish off the look with a gloss like Clinique's long last glosswear in guavagold.


Thursday
Oct022014

Nars Dual-Intensity Eyeshadow

I recently used an eyeshadow from this collection on a client who wanted a somewhat natural, yet glamorous look. I started with one of my favorite colors in the line, Himalia. It’s a shimmering topaz color and in my opinion, the most versatile and easy to wear color in the bunch.  The eyeshadow can be worn wet or dry. The dry application creates a more sheer finish while the wet application transforms the color for a dramatic, luminous look. When applying this dry or wet (but especially wet) I recommend using a synthetic brush to really pack on the color. Nars sells one to go with the eyeshadows but there are many other brands that sell cheaper versions, like Sigma or Crown brushes.

I love shimmering eyeshadows, but you need to be careful with anything too frosty as it tends not to photograph well and is not the most flattering on mature skin and eyes. I like these Dual Intensity Eyeshadows because they are more of a shine than a frost and can be controlled by method of application (wet or dry).

 For the look I created I used Himalia as a base, starting out with a dry brush and gradually adding on the color with a wet brush. I concentrated the color on the lid and used matte tones in Slate by Bobbi Brown for the crease and Brown Script by MAC to blend out the color. I love using Brown Script to brighten and lift any eye treatment. It’s definitely a staple in my kit! It looks very orange/red in the pan but if you use sparingly and blend well in the crease it can really help to open the eye and create a polished and blended look. I also smudged out the navy eyeliner into the corners and slightly up to the outer crease for some extra depth and drama. And lastly, you can wet a smaller synthetic brush and smudge Himalaya on the lower lash line for a pretty, sultry look that isn’t too overdone

Monday
Sep222014

MY LATEST HAIR PRODUCT OBSESSION!

HG – SAHARAN LIQUID GOLD ARGAN OIL

 This stuff is magic in a bottle! My mom swears by it, so I decided to give it a try. It claims to hydrate, condition, volumize, and add shine with a color holding formula and uv protection. Styling and treatment -  What more could you want in a product? My hair is fine and tends to get dry and frizzy so this is perfect for me. It also works well with thick hair. I’ve tried other oils that either weigh down my hair or the lighter ones that don’t help to add any volume. This product truly does it all. My favorite thing about this magical elixir is that it improves the overall quality of your hair over time. And as an added bonus the ingredients are naturally derived. There isn’t anything special about the packaging, but who cares when the product actually does what it says! I buy mine from Naimie’s Beauty Center but you can also purchase from Amazon. The 4oz bottle is $40 and totally worth it in my opinion.

Thursday
Jun122014

3 STAPLES IN MY MAKEUP KIT

*All 3 products were used on my beautiful bride pictured above.

  1. Laura Mercier Caviar Eyestick in Rose Gold
  2. Makeup Forever Sculpting Kit
  3. Makeup Forever Large Precision Blender Brush #236

Laura Mercier’s Caviar Eyestick is great for a quick swipe of color to really open and brighten the eyes. I especially love the rose gold shade. It’s flattering on most skin tones and can also act as a great base for other powder shadows to layer on top. The sticks come in a range of beautiful, long lasting colors. Most department store and drug store brands carry these type of shadow sticks but I’m partial to Laura Mercier.

Makeup Forever’s Sculpting Kit does just what it says and is perfect for sculpting the face. I love using the darker contour color on the base of the cheekbones for my brides and for photoshoots. I also use the darker shade as an everyday eyeshadow crease/contour color. The duos come in a range of shades. The lighter color is great for highlighting the brow bone since it’s a flat, matte color - too much shimmer all over the lid looks a bit dated.

Makeup Forever’s Large Precision Blender Brush #236 is my magic wand! My favorite ways to use this brush are to contour the sides of the nose with the Sculpting Kit (for a wider nose) and base of nose (for a longer nose). Use the contour shadow sparingly. Once the shadow is applied, wipe off any excess product onto a tissue so you can blend the edges of your contour with a clean brush. I also love using this brush to blend out the crease of the eye.  A good blending brush is key for all makeup applications! For a quick, polished, every day look try the rose gold eyestick on the lid and apply the sculpting powder in the crease with this brush.

Wednesday
Apr092014

All Natural Face and Body Cream

In honor of this ridiculously long and cold New York winter I thought I would blog about one of my favorite face and body creams. This cream really helped to get my dry, dull skin back into shape. It can be incredibly overwhelming shopping for new skincare products. There are thousands of brands on the market with tons of ingredients.

I like to keep things simple and clean when I can so finding something with minimal and natural ingredients is important. SW Basics seemed to be the perfect fit for me. There are only 3 ingredients: Shea Butter, Coconut Oil and Olive Oil. The shea butter is from a Fair Trade women's cooperative in Ghana and the oils are organic. I also love that it's a locally based company, right out of Brooklyn, NY.

 It comes in a sleek glass jar and feels like butter as it glides over the skin. When my skin was at its driest I would slather it on my face before bed as well as any dry patches on my legs, arms, etc. It feels a bit greasy on the skin at first, but leaves the skin feeling soft and quenched in the morning. I should also add that it's great for sensitive skin and never caused any breakouts.

The jar is 3.75 oz for $32 and a little goes a long way. I'm only half way through the jar since September. They also have a mini cream that is 1oz for $12 - great for travel! I bought mine on Amazon but you can also purchase directly from http://store.swbasicsofbk.com/ Next on my list to try is their makeup remover!

Tuesday
Mar252014

The Perfect Sunscreen

Being a makeup artist and seeing what sun damage can do to a person's skin has sent me looking for the perfect sunscreen over the years.

I discontinued using my favorite sunscreen after reading this article in 2012 because it contained oxybenzone.

http://www.cnn.com/2012/05/16/health/sunscreen-report

While I realize that there are all sorts of chemicals in cosmetic/skincare products, I try to use cleaner/more natural products when and if I can find a good alternative (especially while I was pregnant). So the hunt began for a sunscreen that was mineral based, didn't contain oxybenzone and didn’t leave my skin feeling too dry, too oily or too pasty white before applying my foundation. As mentioned in the article, the EWG warns against the use of the chemical oxybenzone which is an ingredient in most sunscreens. The primary function of oxybenzone is to absorb ultraviolet light, but some research shows oxybenzone can be absorbed through the skin. The EWG and other toxicology experts believe that oxybenzone is linked to hormone disruption and potentially to cell damage that may lead to skin cancer.

During my search I tried everything from MyChelle, Babyganics, even a small Canadian based company that discontinued one of my more favorite finds (of course!) Well, I’m happy to say that my search is finally over! I found the most perfect sunscreen right around the corner at CVS – Anthelios 50 Mineral Ultra Light Fluid Sunscreen. It is exactly what it says, mineral based and ever so light to the touch. It disappears into the skin and feels as if I am not wearing anything at all. It also comes in a beautiful tint that is just the right color and not at all orange.
http://www.laroche-posay.us/anthelios-50-mineral-883140000907.html

As a makeup artist, my job is to perfect my client's skin, but there is no amount of makeup or technique of application that can make the skin look as beautiful as skin that has been cared for and protected over the years. Oh and I have to add that even in this horribly, long New York winter, it is so important to wear sunscreen every day!

And just in case I didn’t convince you to wear sunscreen every single day (and reapply throughout) this photo most certainly will.
http://www.cbsnews.com/news/trucker-accumulates-skin-damage-on-left-side-of-his-face-after-28-years-on-the-road/